How use a USB flash drive to install Window 7 on your PC

No one can imagine that a lot of things will happen at this Spring Festival. I’m sure many friends stay home during the Spring Festival. One or two days is fine. Over time it will get boring.

For some users, when choosing an operating system, they may opt for Window 7.
Although Microsoft has officially stopped supporting Window 7, it can still be used normally.
And some software can only run on Window 7, so this time I’ll share the tutorial on installing Windows 7.
Preparations for installing Windows 7 on a USB flash drive
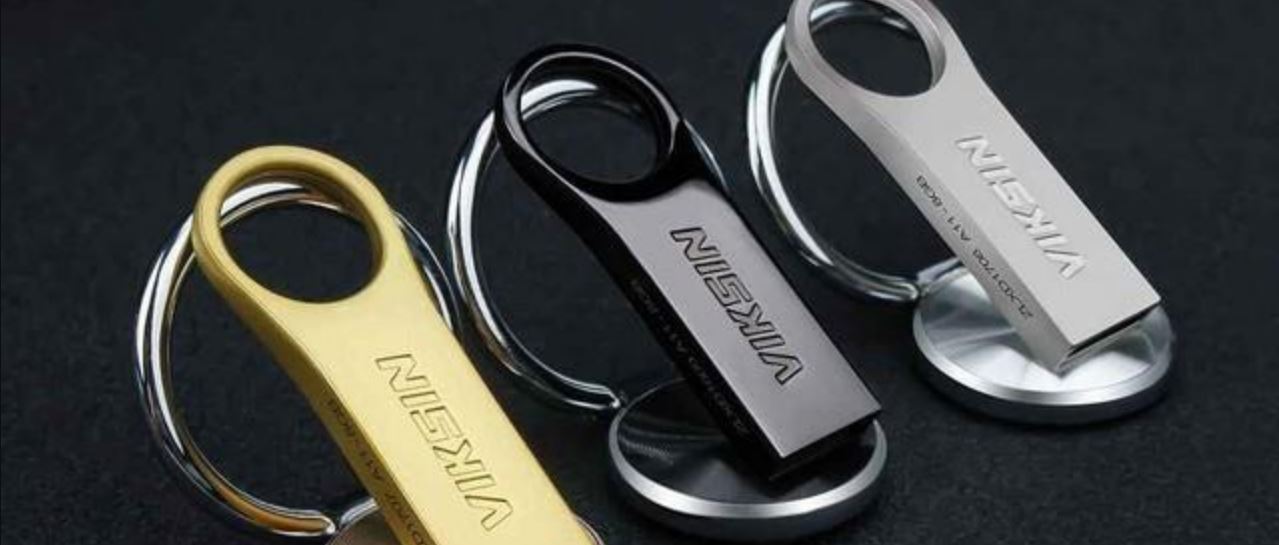
Develop some tools first. The first is a U disk that has more than 8GB of capacity for system disk creation.
After the Windows 7 image, it’s better to choose the official image.
The last task is to create a system disk. Here we choose the more classic floppy disk.

Common steps for installing Windows 7 on a USB flash drive are the first download a picture of Windows 7, then make this image into a system U disk, then boot the U disk to boot, and finally the system. Install to the target hard disk.
The whole operation is not complicated, just follow the process.
Specific steps
The first step is to download the Windows 7 image. Recommend a website to everyone, click here to jump.
Then click the operating system on the right-Windows 7 in turn. Select Your Operating System and then there will be a lot of Windows 7 versions. It is recommended to choose the version with “Service Park 1”. It can be regarded as the official Microsoft integrated patch version. You will need to install patches later.
Which version you choose depends on which activation code you have.
- “Starter” is the simplified version
- “Home Basic” is the home basic version
- “Home Premium” is the home premium version.
- “Enterprise” is the enterprise version,
- “Professional” For the professional version
- “Ultimate” is the flagship version.
After selecting the version, click on the details to see the download link, and download it.
The second step is to download the tool floppy. Enter “floppy disk” directly in the search engine, select the appropriate download address, and download and install directly.

- The third step is to make the system U disk. First, insert the U disk into the computer to format it and select the Fat32 file system.
- Use the floppy disk to open the downloaded Windows 7 image, choose to write the hard disk image, and then select the USB disk for writing, and click Write.
After waiting a while, the Windows 7 system U disk is complete.
- The fourth step is to install the system. To restart, insert the U disk into the computer, and then select the boot U disk to boot.
At this time you can see the installation interface of Windows 7. In fact, installing the system is easy, just like installing the software.
In the process of installing the system, there is one step that needs to be addressed, and that is to select the target hard disk. Must see the targeted hard disk, and do not select false.
After that, it waits. After the system installation is complete, it will automatically sign in to the desktop.
- The fifth step is to install the driver. After the system installation is complete, open Device Manager to check if the hardware driver has been successfully installed. If this is not successful, you can go to the relevant official website to download the driver, and then install it.
Reinstalling Windows 7 above is the whole process. Friends in need can refer to this.
Also, Read
Released Samsung Galaxy S20 and Galaxy Z Flip
Coronavirus Precaution Proper Use: How often do I wear N95 & KN95 masks?


